Single Blog
Related Post

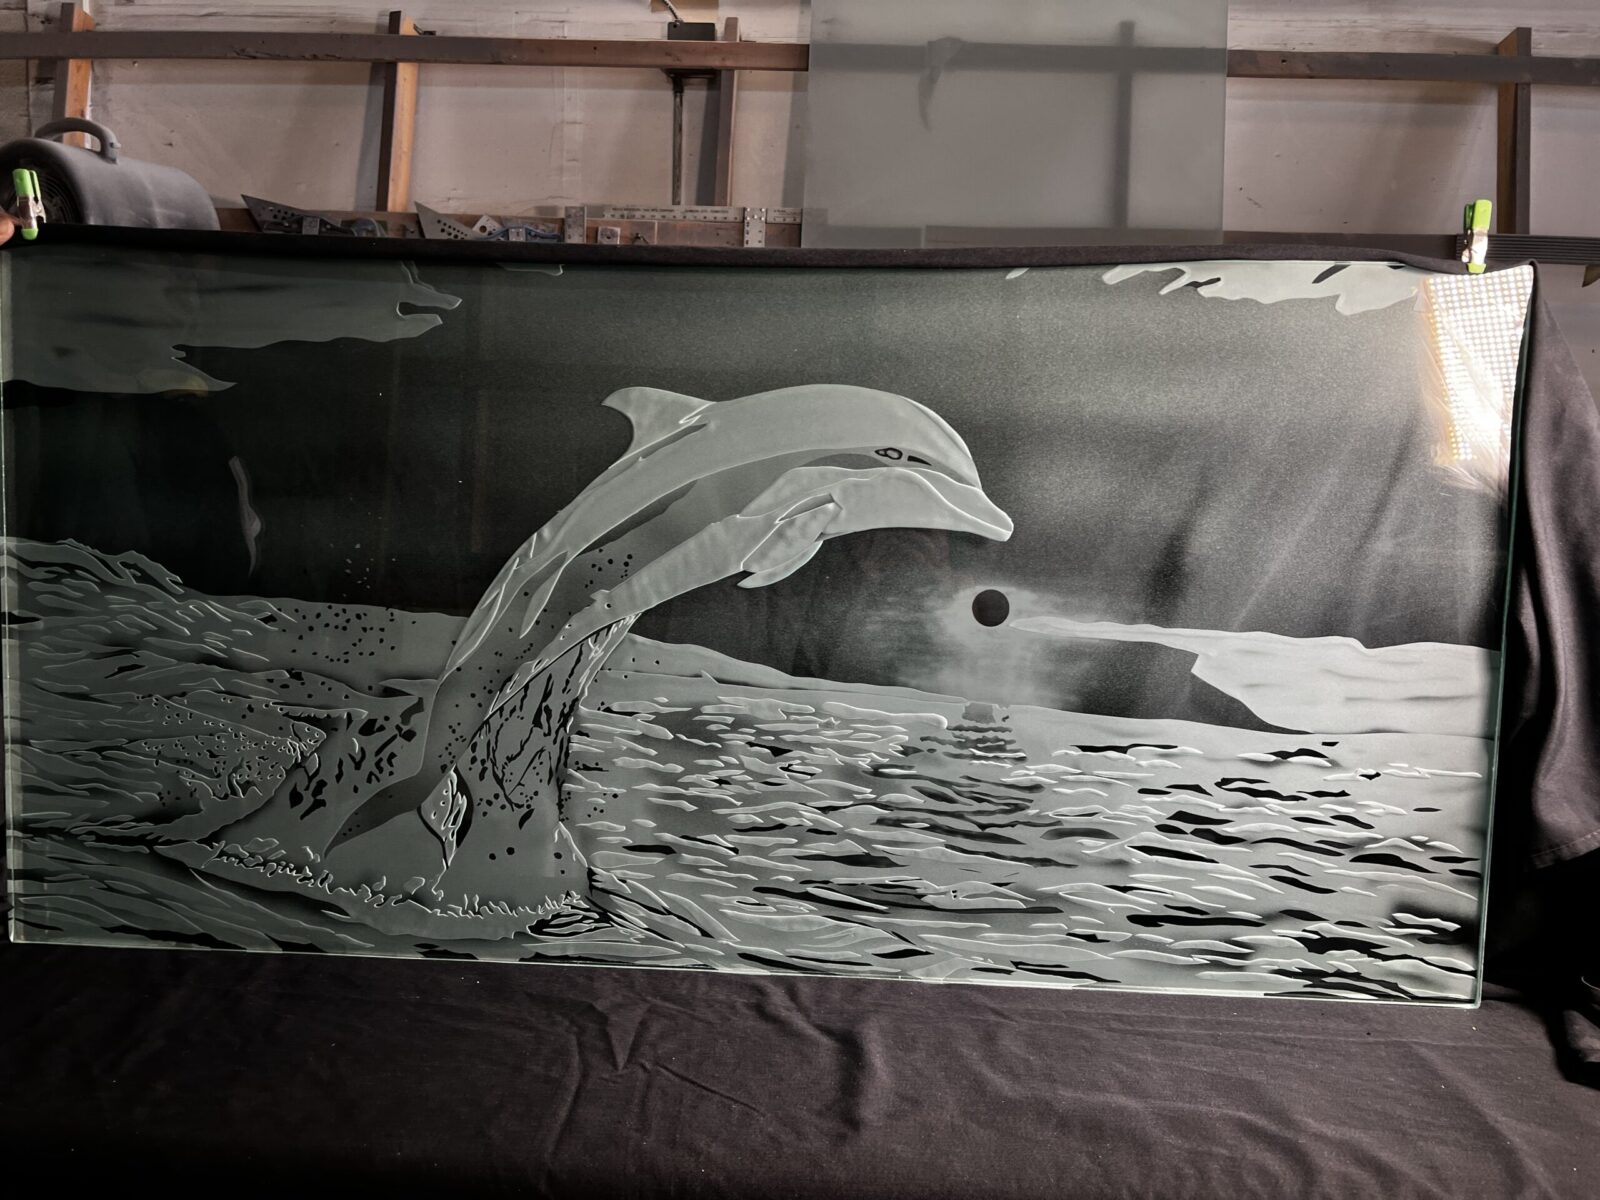
Custom Etched Glass Gift with Dolphin & Sunset – A Unique Luxury Keepsake
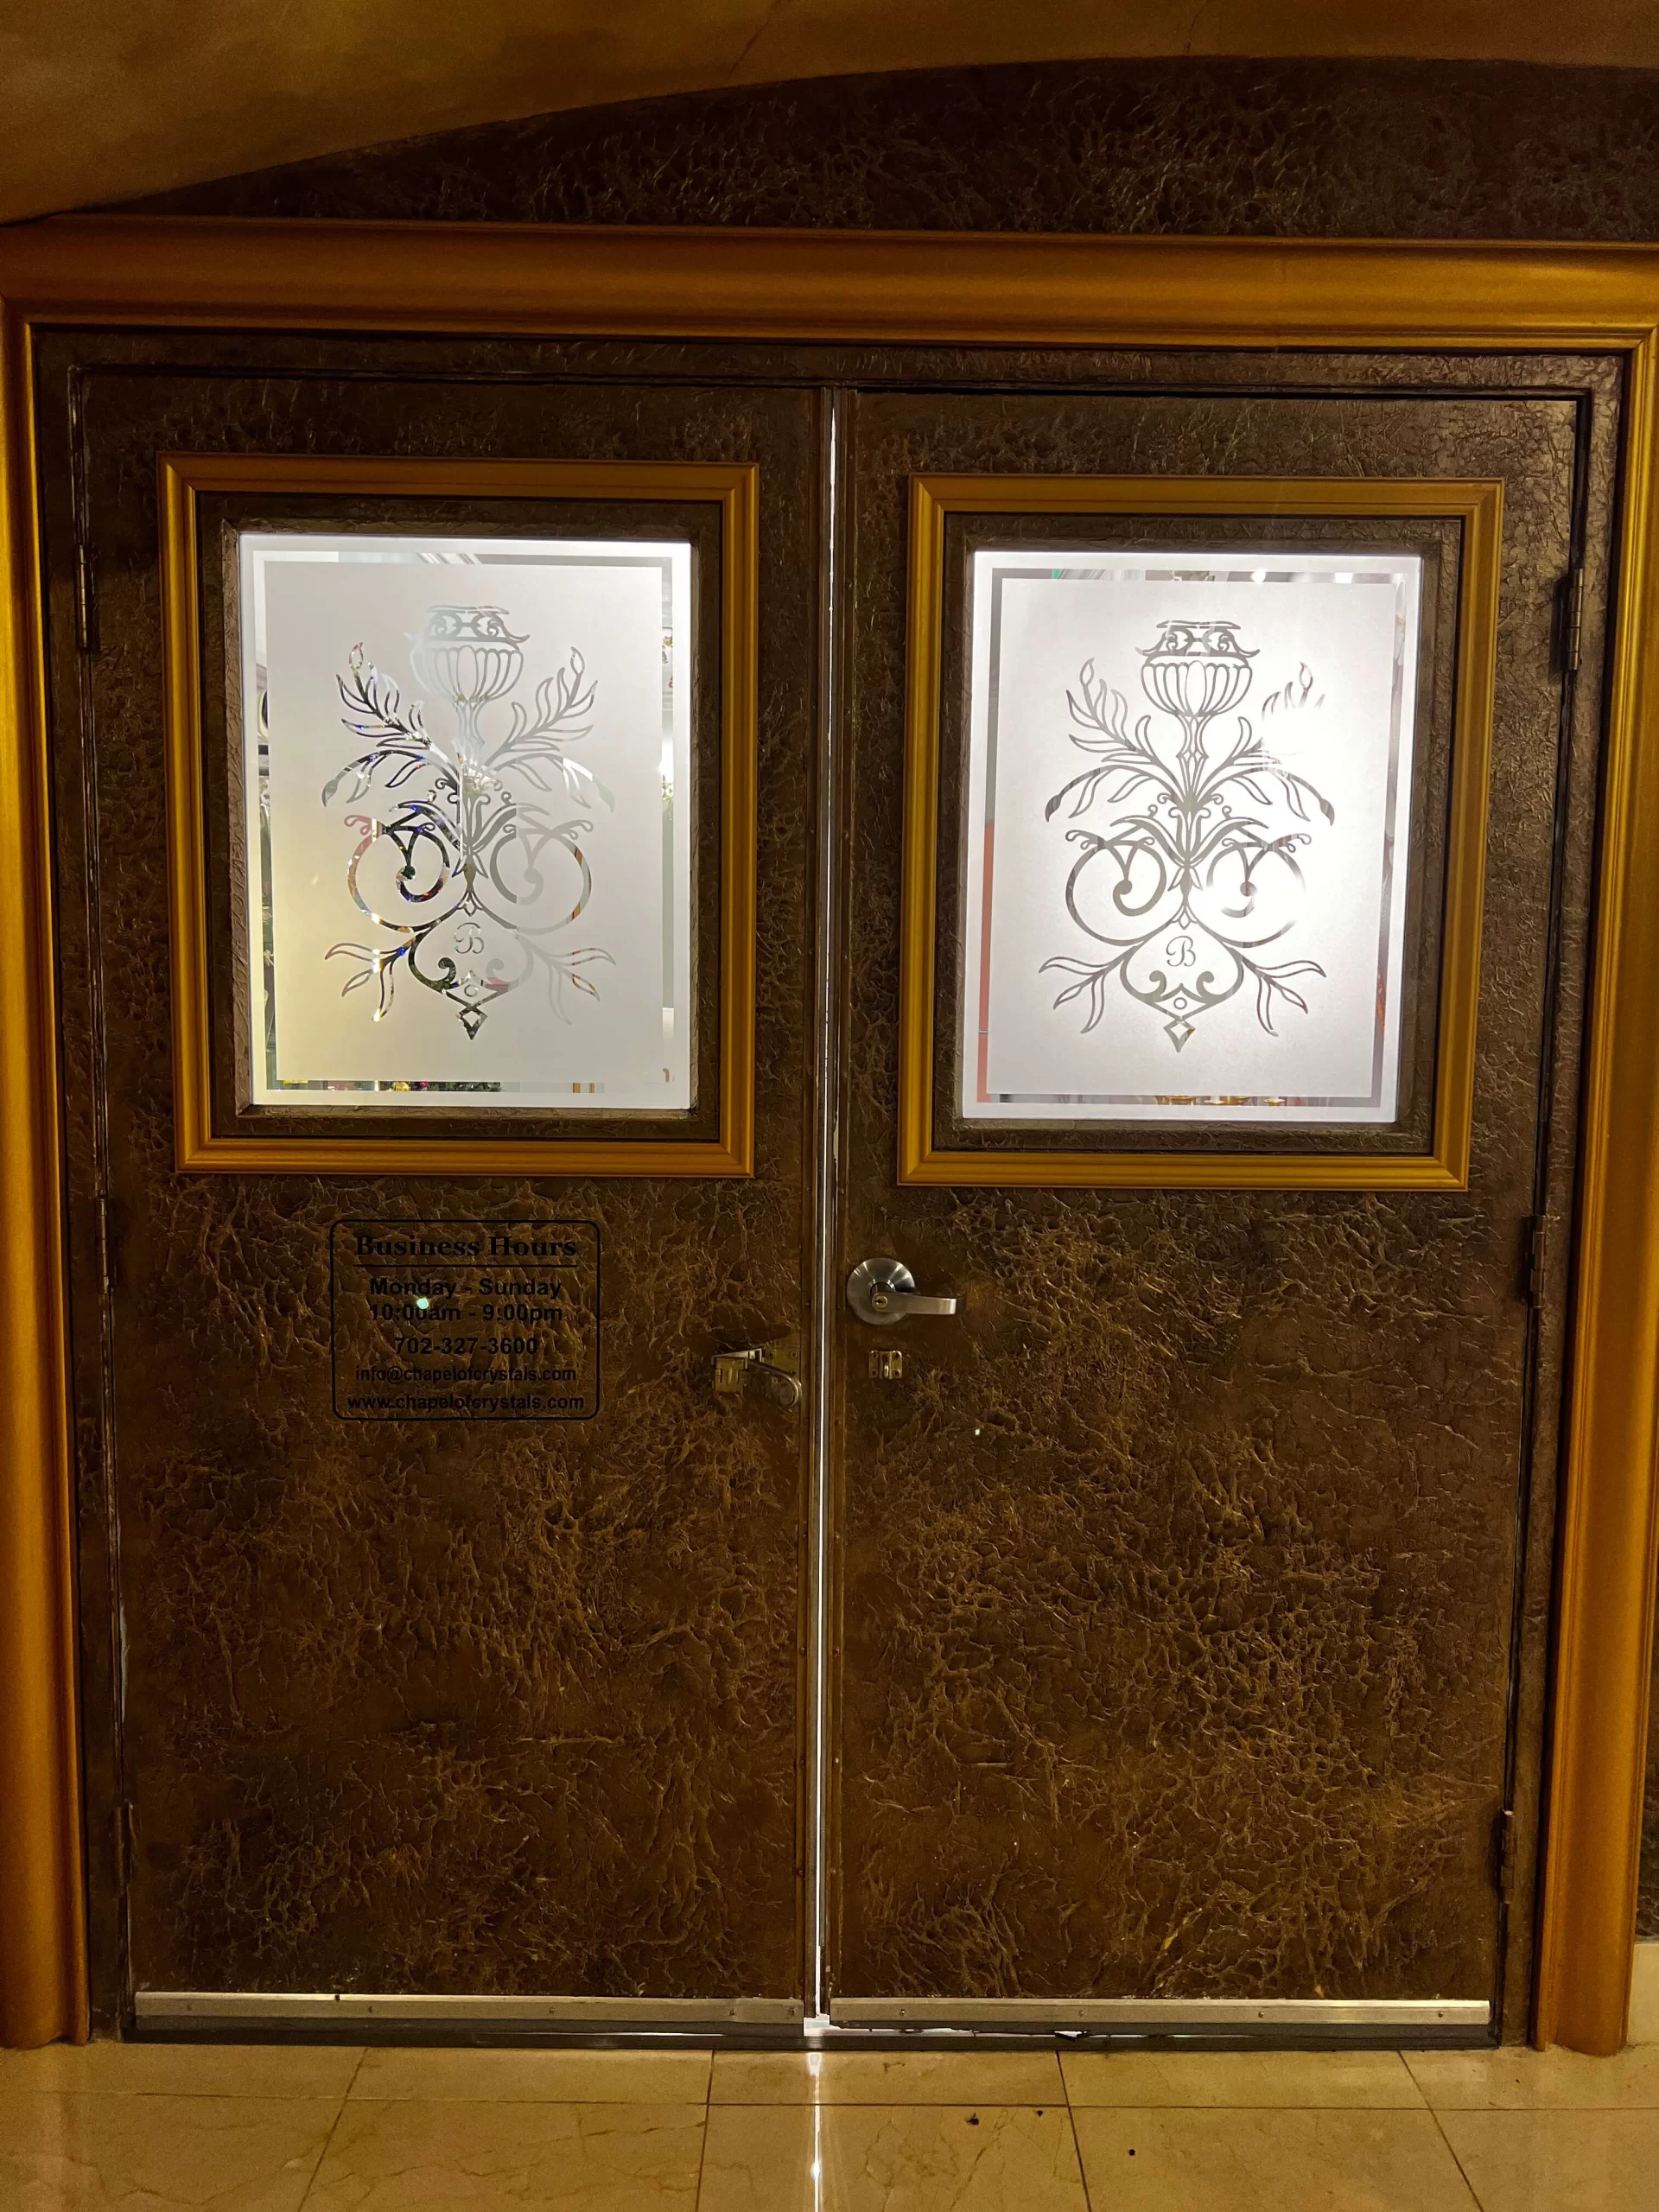
Custom Etched Glass Wedding Venue Doors – From Sticker Removal to Stunning Design
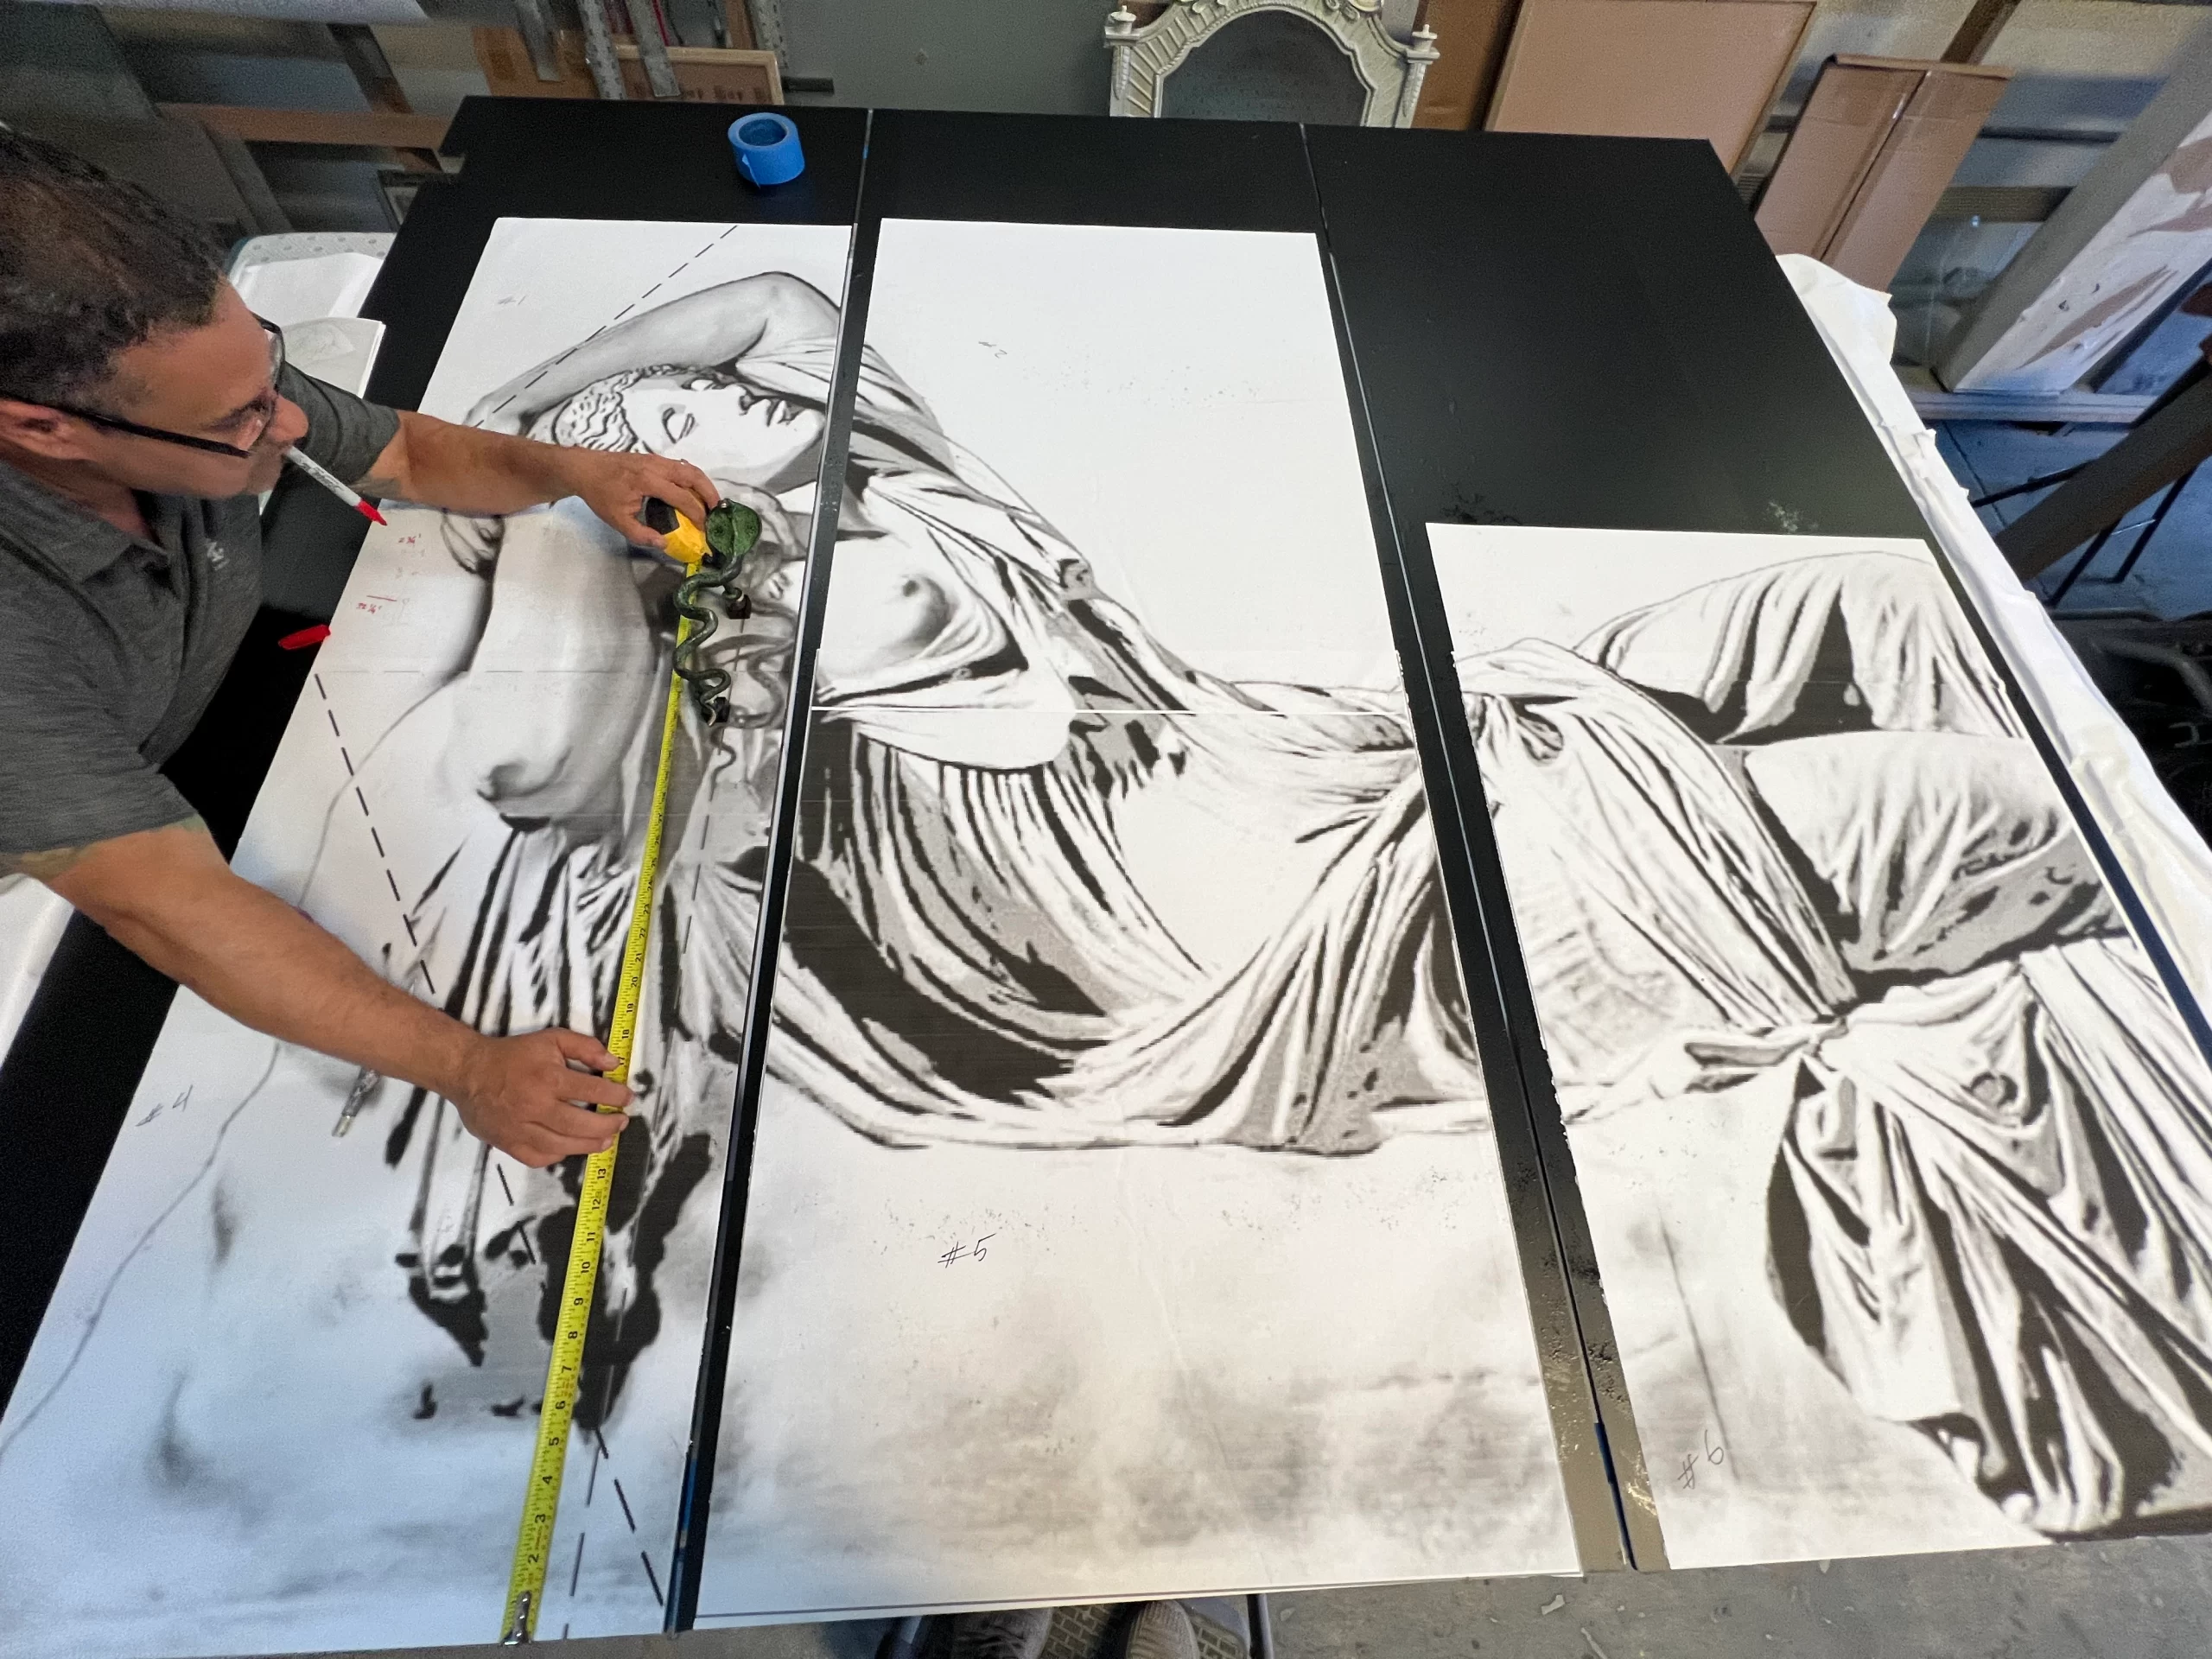
Custom Glass Shower Door – Ariadne Inspired Deep Carving
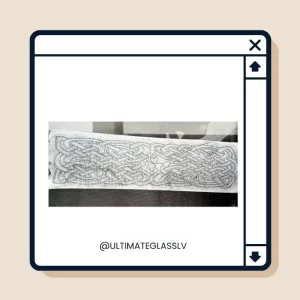
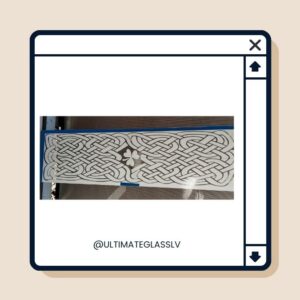
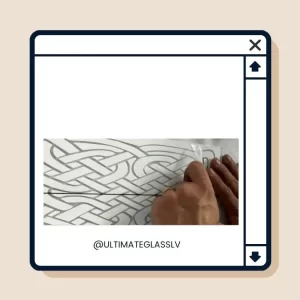
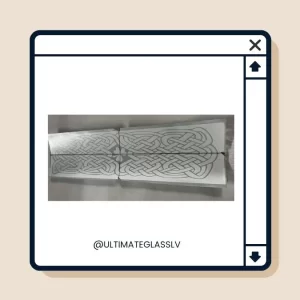
Glass Sandblasting Stencil Tutorial: A Step-by-Step Guide (FREE Stencil File Included!)
Introduction to Glass Sandblasting Stencil Tutorial
A stencil tutorial is the perfect way to explore your creativity while creating beautiful, precise designs for your projects. Whether you’re crafting wall art, decorating glassware, or adding custom touches to furniture, stencils offer endless possibilities. In this guide, you’ll learn exactly how to create, cut, and apply your stencil from start to finish. Best of all, we’re including a free stencil file download so you can follow along and start your project right away. This process works perfectly for crafters, DIY enthusiasts, and even professional designers working with vinyl, paper, or reusable mylar.
This Glass Sandblasting Stencil Tutorial is an excellent way to enhance your skills and creativity.
This Glass Sandblasting Stencil Tutorial will guide you through the process of creating stunning designs.
In this Glass Sandblasting Stencil Tutorial, you’ll gain insights into stunning design techniques.
Why Learn Stencil Making?
Using stencils allows you to:
-
Reproduce detailed patterns easily.
-
Create custom designs for personal or commercial projects.
-
Save time compared to hand-painting.
-
Achieve clean, professional results.
Stencils can be applied in many industries, from art glass projects and custom home décor to vinyl decal production and even deep carving for glass etching.
Industry professionals often reference this Glass Sandblasting Stencil Tutorial for guidance.
What You’ll Need for This Stencil Tutorial
Before you begin, gather the following materials:
Make sure to utilize the Glass Sandblasting Stencil Tutorial for optimal results.
-
Stencil design file (included free in this tutorial)
-
Vinyl or mylar sheet
-
Cutting machine (such as GCC Expert II, Cricut, or Silhouette Cameo)
-
Transfer tape (if using vinyl)
-
Craft knife or weeding tool
-
Surface to apply stencil on (glass, wood, wall, etc.)
-
Paint or sandblasting equipment (depending on your project)
Step-by-Step Guide to Making Your Stencil
Step 1 – Download the Free Stencil File
We’ve created a free digital stencil file you can use in this tutorial. The file is compatible with major cutting machine formats (SVG, PNG, DXF).
Tip: Save the file in a folder where you can easily find it later.
Step 2 – Prepare Your Design
-
Open the stencil file in your design software.
-
Adjust the size to fit your project.
-
For digital product sellers, consider customizing the design to suit your brand’s style.
-
Ensure that all parts are connected where needed to maintain stability.
Step 3 – Cut the Stencil
-
Place vinyl or mylar sheet onto your cutting mat.
-
Load it into your cutting machine.
-
Select the correct cut settings (refer to your machine’s manual).
-
Cut and weed out the parts you want to apply paint or etching through.
Step 4 – Apply the Stencil
Depending on the surface and method:
-
For painting: Use repositionable adhesive or painter’s tape.
-
For sandblasting on glass: Secure firmly with transfer tape to avoid air gaps.
-
For wall decals: Smooth out any bubbles with a squeegee.
Step 5 – Finish the Design
This Glass Sandblasting Stencil Tutorial offers unique tips for a flawless finish.
-
Apply your paint, spray, or etching process.
-
Remove the stencil carefully once dry or finished.
-
Clean the surface if needed.
Tips for Better Stencil Results
Follow the advice in the Glass Sandblasting Stencil Tutorial to improve your technique.
-
Use art glass for elegant, high-end projects.
-
If selling online, include multiple stencil sizes for customer choice.
-
Offer custom shower door or home décor designs for niche markets.
-
Keep your stencil edges clean to ensure sharp lines.
Using the Glass Sandblasting Stencil Tutorial can help in achieving stunning effects.
-
Test your stencil on a small surface before doing a large project.
Related Keywords to Include in Your Work
-
custom stencil design
-
vinyl stencil template
-
reusable stencil file
-
sandblasting stencil tutorial
-
art glass stencil patterns
FAQ – Stencil Tutorial
Q1: What is included in this stencil tutorial?
A: You get a step-by-step guide plus a free stencil file to help you start your project immediately.
Q2: Can I use the free stencil file for commercial purposes?
A: Yes, you can use it for personal or commercial projects, but do not resell the digital file itself.
Q3: What materials work best for stencils?
A: Mylar sheets are reusable, vinyl is great for one-time use, and cardstock works for quick, temporary stencils.
Q4: Can I use this stencil tutorial for sandblasting?
A: Absolutely. The method works for both painting and sandblasting projects, including art glass.
Q5: How do I scale the stencil file for different projects?
A: Use your cutting software to adjust the size before cutting to fit walls, glass, furniture, or any surface.
Take advantage of the Glass Sandblasting Stencil Tutorial to scale your designs.
? Download Your FREE Stencil File!
We want to make your sandblasting projects easier! That’s why we’re offering the digital stencil file for free in multiple formats:
✔️ SVG – For Cricut & Silhouette machines
✔️ DXF – For CNC & laser cutting
✔️ AI – Editable vector format
✔️ PDF – For printing and manual cutting
Don’t forget to apply the tips from the Glass Sandblasting Stencil Tutorial as you create.
? [Download Your Free Stencil File Here]
Love this guide? Share your finished project with us! Use @ULTIMATEGLASSLV on social media or tag us!
Remember, this Glass Sandblasting Stencil Tutorial is your key to success.
Final Thoughts
Utilize the Glass Sandblasting Stencil Tutorial for your next creative project.
Creating sandblasted glass designs requires patience and precision, but with the right tools and techniques, you can achieve professional results. Whether you’re making personalized gifts, business signage, or decorative pieces, this guide will help you through every step!
Embrace the insights from the Glass Sandblasting Stencil Tutorial to elevate your art.

