

If you’ve ever tried adding a decorative touch to a smooth surface, you know the frustration of bubbles forming under your vinyl decal. Learning how to apply a vinyl decal on glass without bubble is the key to achieving a professional, smooth finish. Whether you’re creating a pantry or laundry door decal, a frosted vinyl design, or a custom vinyl graphic, this guide will walk you through every step. By following the right preparation, tools, and application method, you can ensure your decal sticks perfectly and lasts for years without peeling or bubbling.
Before we get into the step-by-step guide, let’s understand why bubbles happen:
Surface dust or debris prevents full adhesion.
Improper preparation leaves oils or residues.
Rushed application traps air underneath.
Temperature extremes affect the adhesive’s performance.

Vinyl decal (custom or pre-made)
Transfer tape
Squeegee or credit card
Isopropyl alcohol and a lint-free cloth
Masking tape
Spray bottle with mild soapy water (for wet method)
Use isopropyl alcohol and a lint-free cloth to remove dirt, dust, and oils. Even tiny particles can cause bumps or weak adhesion.
Hold your decal (with the backing paper still on) against the glass. Use masking tape to temporarily secure it in place.
For larger designs like pantry or laundry door decals, create a tape hinge along the top edge. Flip the decal up, remove the backing paper, and slowly lower it back while smoothing.
As you peel away the backing, press the decal onto the glass using a squeegee, working from the center outwards to remove air pockets.
For big vinyl designs, lightly spray soapy water on the glass before application. This allows repositioning and easier bubble removal.
After firmly applying the decal, slowly peel away the transfer tape at a 45° angle.

Work in a clean, dust-free area.
Avoid very hot or cold environments during application.
Choose high-quality vinyl for longer-lasting results.
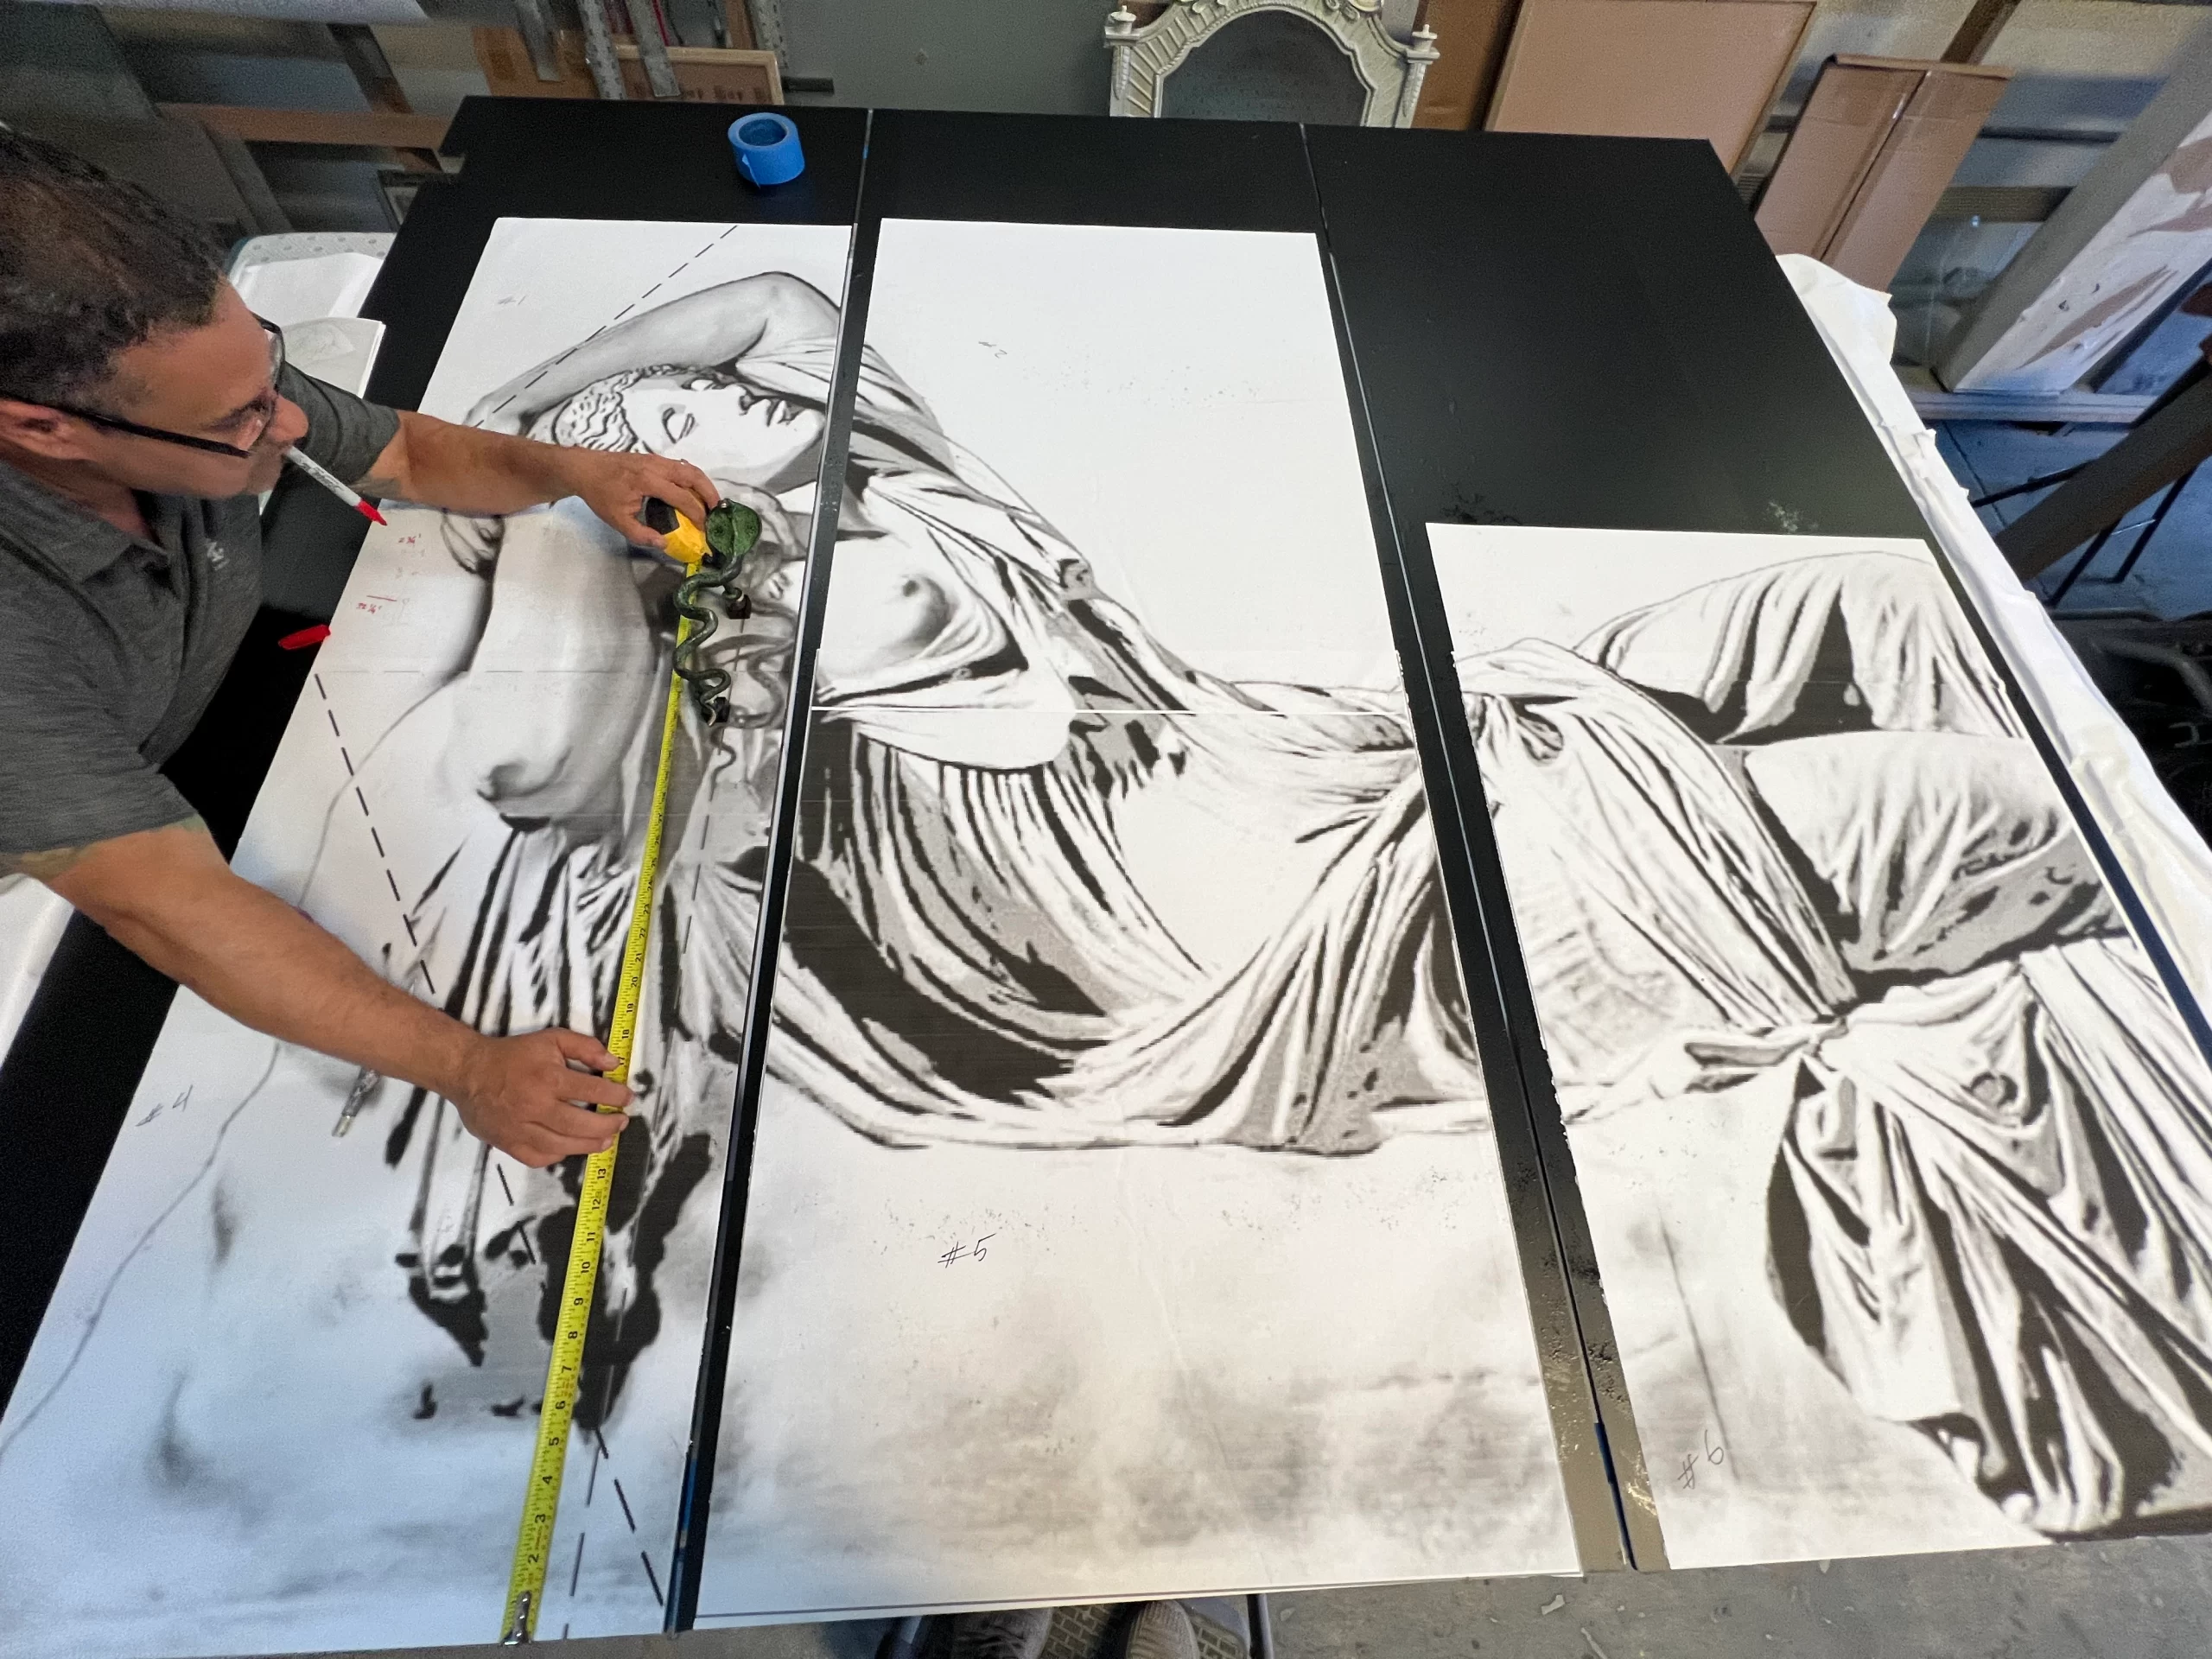
For intricate vinyl designs, weed excess material before transferring.

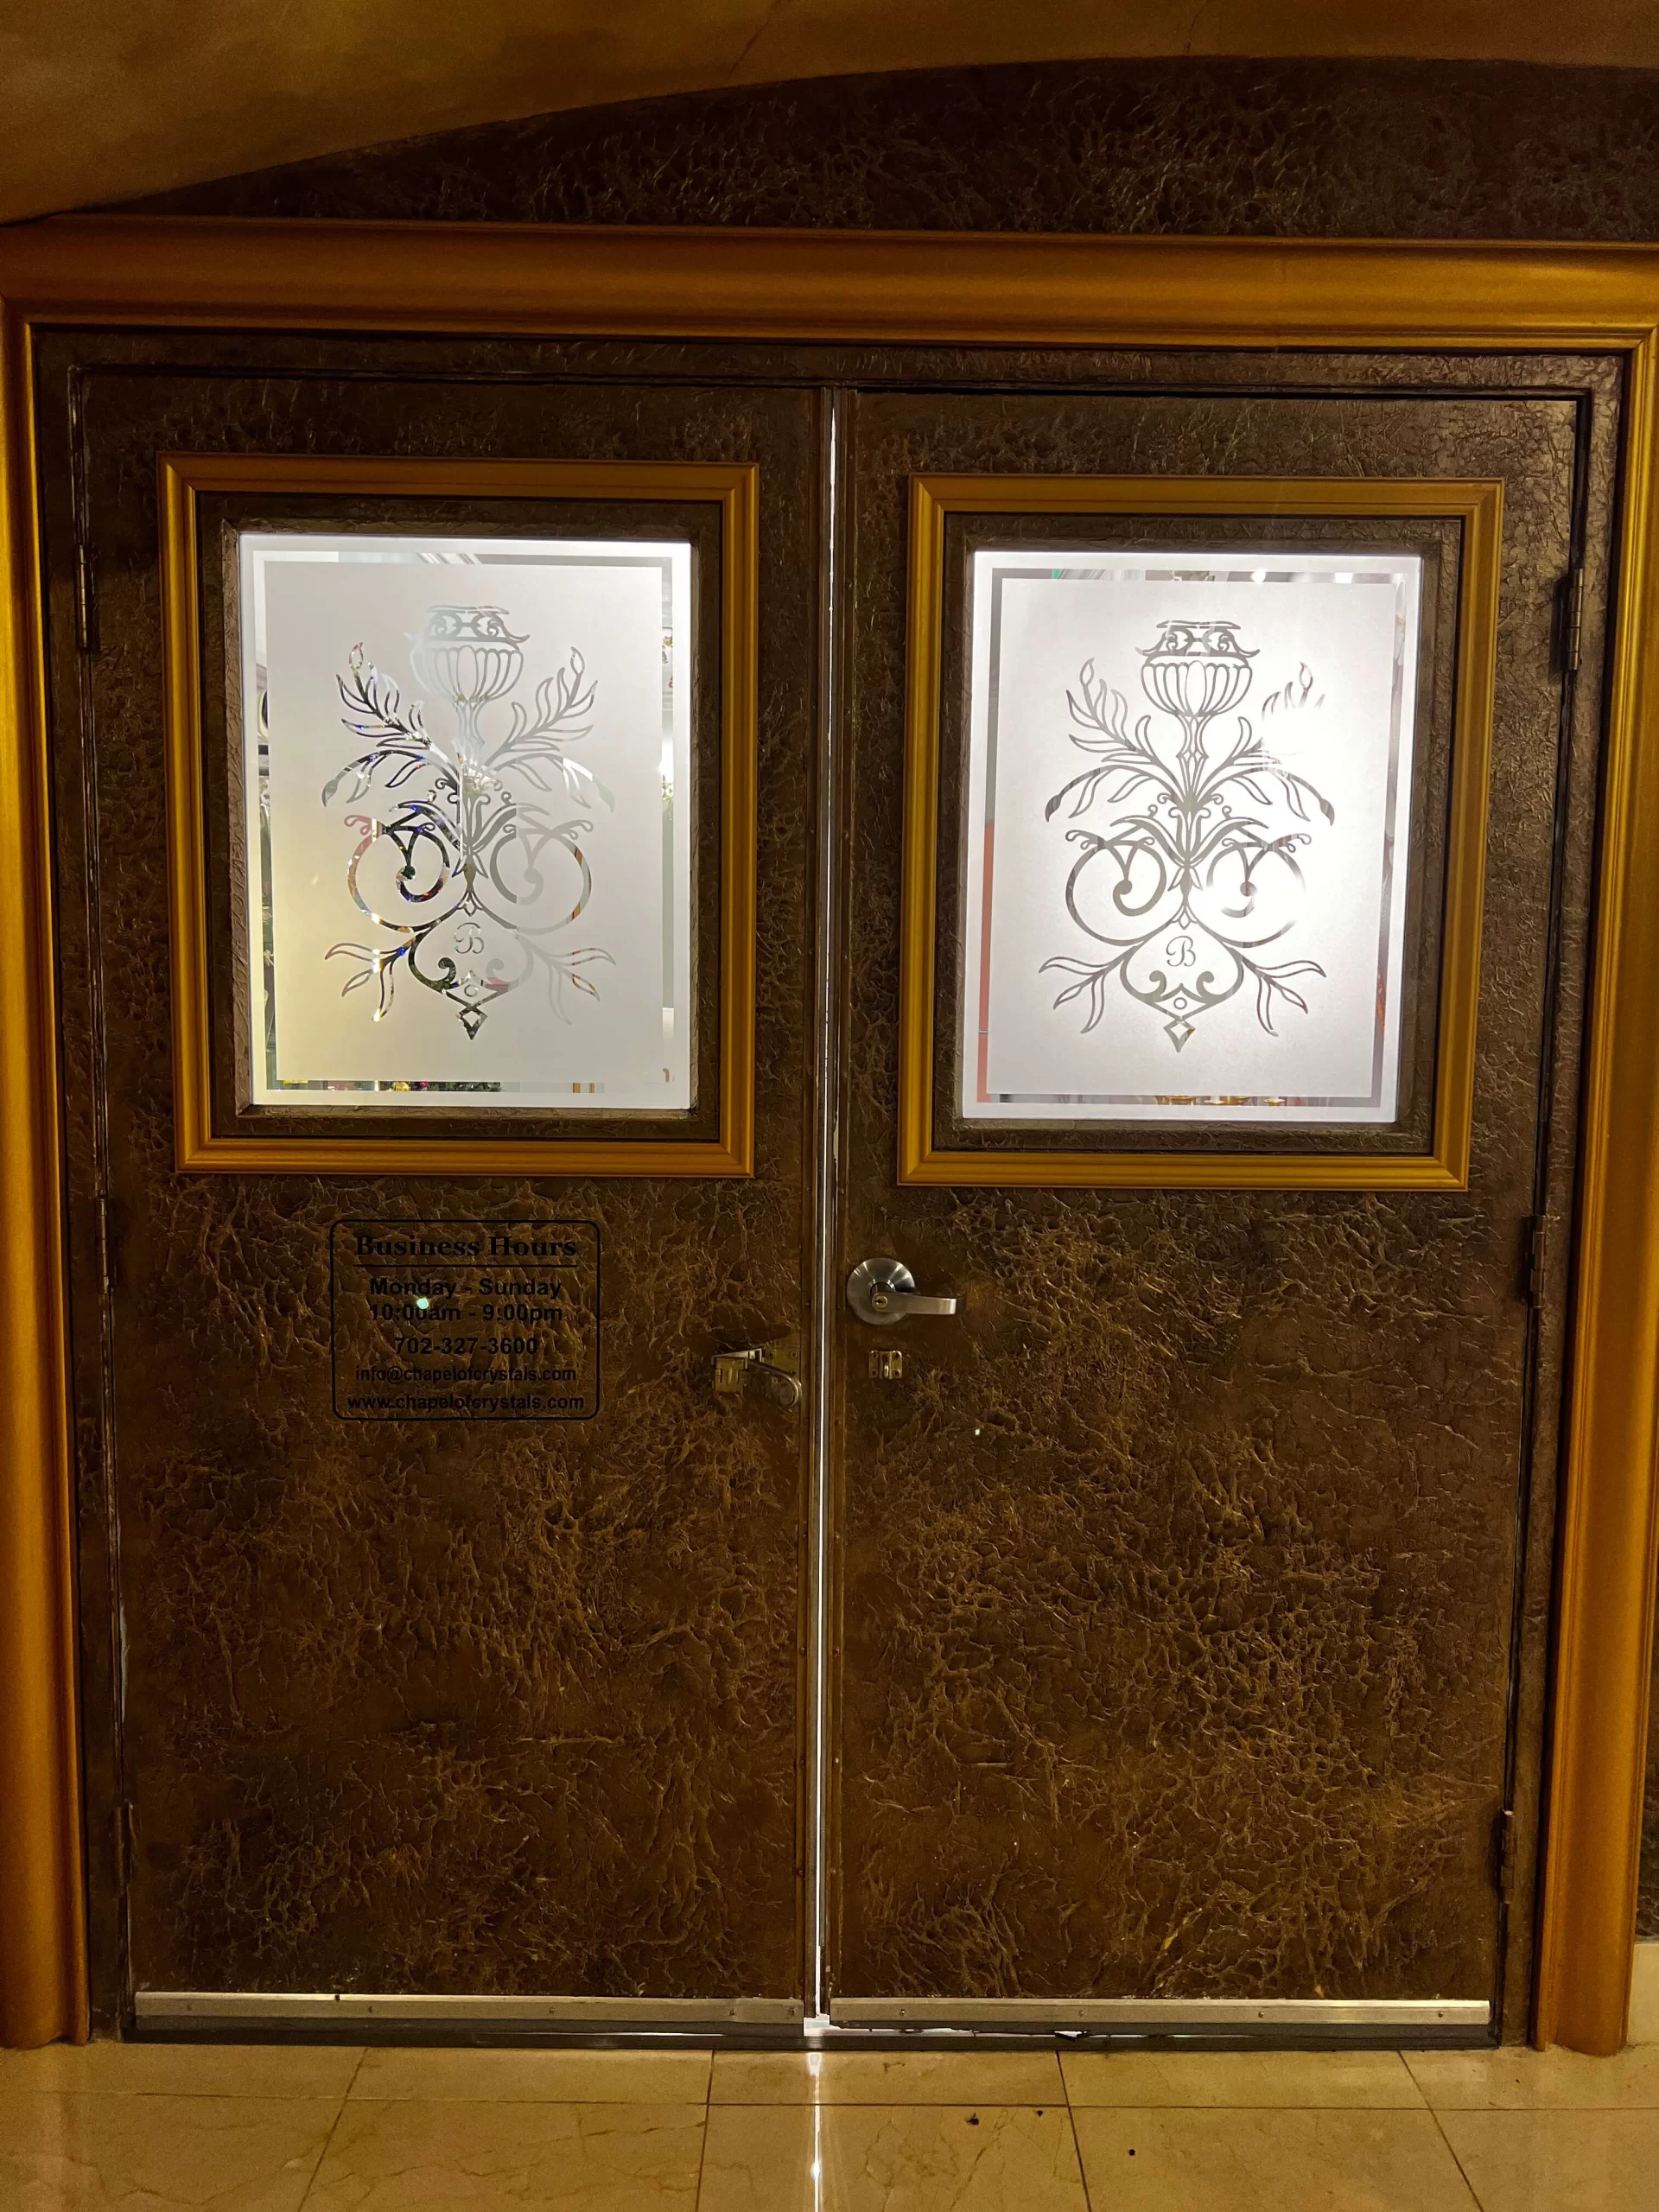
Personalize your home with stylish text or graphics for glass doors.
Use frosted vinyl for an elegant, non-permanent etched appearance.
Layer multiple vinyl designs for unique window art.

1. How to apply a vinyl decal on glass without bubble?
Clean thoroughly, apply slowly with a squeegee, and press from the center outwards.
2. Can I use the wet method for any vinyl decal?
Yes, but it’s best for large decals and frosted vinyl designs.
3. Will vinyl decals stick to textured glass?
Smooth glass works best; textured surfaces may need stronger adhesive.
4. How long does a vinyl decal last on glass?
Indoor decals can last 3–5 years or more with proper care.
5. Can I reuse a vinyl decal after removing it?
Most vinyl decals aren’t reusable, but they can be removed without damaging the glass.

Mastering how to apply a vinyl decal on glass without bubble is all about preparation and patience. By cleaning the surface, using the right method, and applying even pressure, you’ll get a smooth, professional look every time. Whether you’re working on pantry or laundry door decals, frosted glass effects, or custom vinyl designs, these steps ensure long-lasting beauty. Now, grab your tools and transform your glass surfaces with confidence!
Learn more at Oracal official website.
Check our vinyl decal shop or contact us for help.
If you need more tips on how to apply a vinyl decal, reach out for guidance through our resources.
For further guidance on application techniques, explore our resources at Oracal official website. You can also check out our dedicated vinyl decal shop for various options or contact us for personalized assistance. Engaging with our community can also provide valuable insights and tips from fellow vinyl enthusiasts.